
If you haven't checked out Pinterest yet, you are missing out! I've already used several ideas I've found there, many of which I've tweeked to fit my own needs and interests. This latest project was inspired by this dry-erase calendar that I found. I wanted to jazz mine up a little more and here was the final result:

So, here's a little tutorial on how you can make one of your own...
First, find a large glass picture frame (I paid $5 for mine at a yard sale.) and then go to a local paint or hardware store and collect 35 paint chip samples for FREE (enough for 5 weeks) for each month of your calendar. (You might want to go ahead and grab a few extras just to be safe or if you want to use some for your days of the week and month placements.) I went to Sherwin-Williams thinking they would have a wider selection of colors to choose from but you can also find these at Lowe's and Walmart. Originally, I had hoped for a 2 month calendar, but my frame wasn't big enough to accommodate that and after a fruitless search to find a larger one, I decided to just go with one month. I can always make another one later. :) As you can see, I went with a green palate but you can choose whatever colors you like.
I also didn't want to spend a lot of money on this project so I decided to look around the house and was fortunate to find everything else I would need...fabric, scissors, modge podge, a paintbrush, and a black pen. You can easily substitute other materials that would work just as well too.
Once you've disassembled the frame, cut your fabric slightly larger than the picture insert so it will wrap around the back for a tighter fit once glued on.

So, here's a little tutorial on how you can make one of your own...
First, find a large glass picture frame (I paid $5 for mine at a yard sale.) and then go to a local paint or hardware store and collect 35 paint chip samples for FREE (enough for 5 weeks) for each month of your calendar. (You might want to go ahead and grab a few extras just to be safe or if you want to use some for your days of the week and month placements.) I went to Sherwin-Williams thinking they would have a wider selection of colors to choose from but you can also find these at Lowe's and Walmart. Originally, I had hoped for a 2 month calendar, but my frame wasn't big enough to accommodate that and after a fruitless search to find a larger one, I decided to just go with one month. I can always make another one later. :) As you can see, I went with a green palate but you can choose whatever colors you like.
I also didn't want to spend a lot of money on this project so I decided to look around the house and was fortunate to find everything else I would need...fabric, scissors, modge podge, a paintbrush, and a black pen. You can easily substitute other materials that would work just as well too.
 |
| original picture in frame |
 | |||
| back of frame |
 |
| cutting fabric slightly larger than insert |
 |
| iron for a smoother finish |
If you use fabric, be sure to iron it for a smoother finish before gluing it on.
Next, take your modge podge and paintbrush and "paint" the glue onto the back of your picture. (I recommend doing this part in sections because this glue dries FAST.)


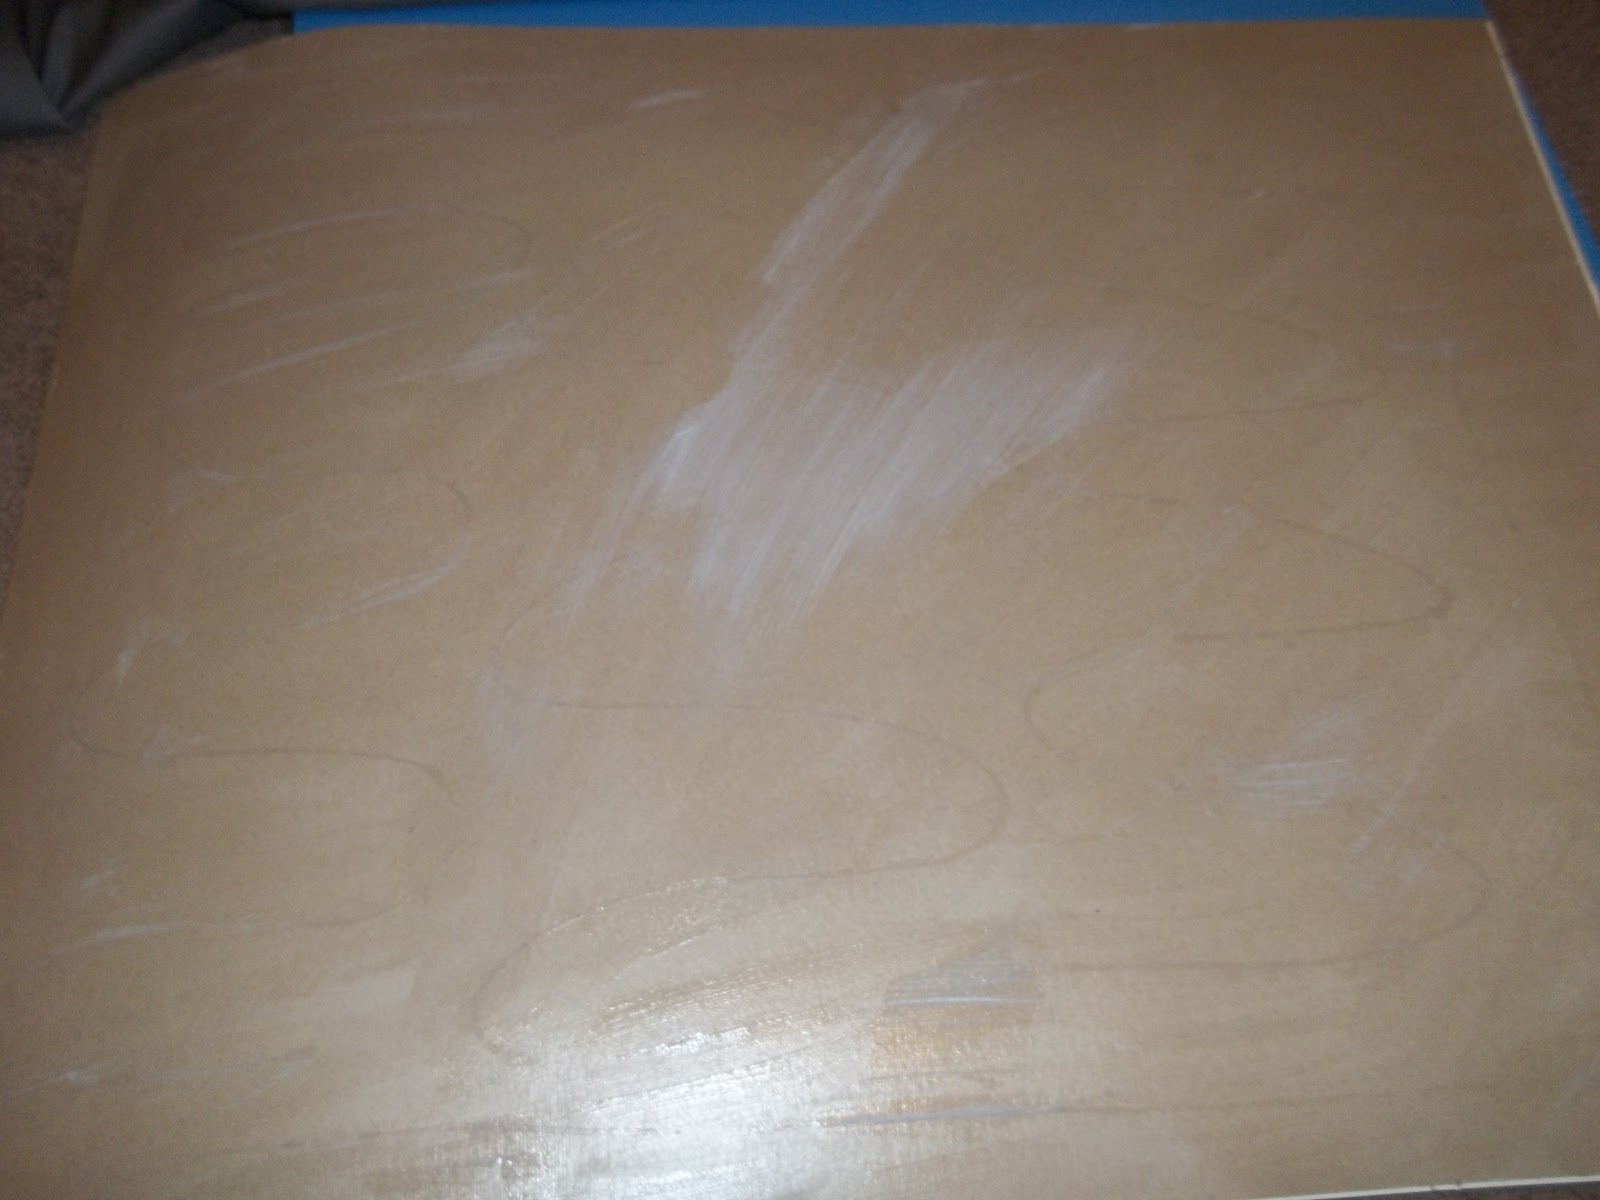
See how quickly it dries? I do not recommend this technique. Gluing one section at a time would probably work better. :)


I cut the edges on mine so they weren't so bulky but this step is not really necessary.

Here are some pics of the paint samples I picked up from Sherwin-Williams. They are larger than the average samples so I had to cut them to the size I wanted.

I liked these samples because they were also curved on one side and had a perforated square near the top that I was able to punch out and use later to spice up the calendar (which I'll explain in just a bit).
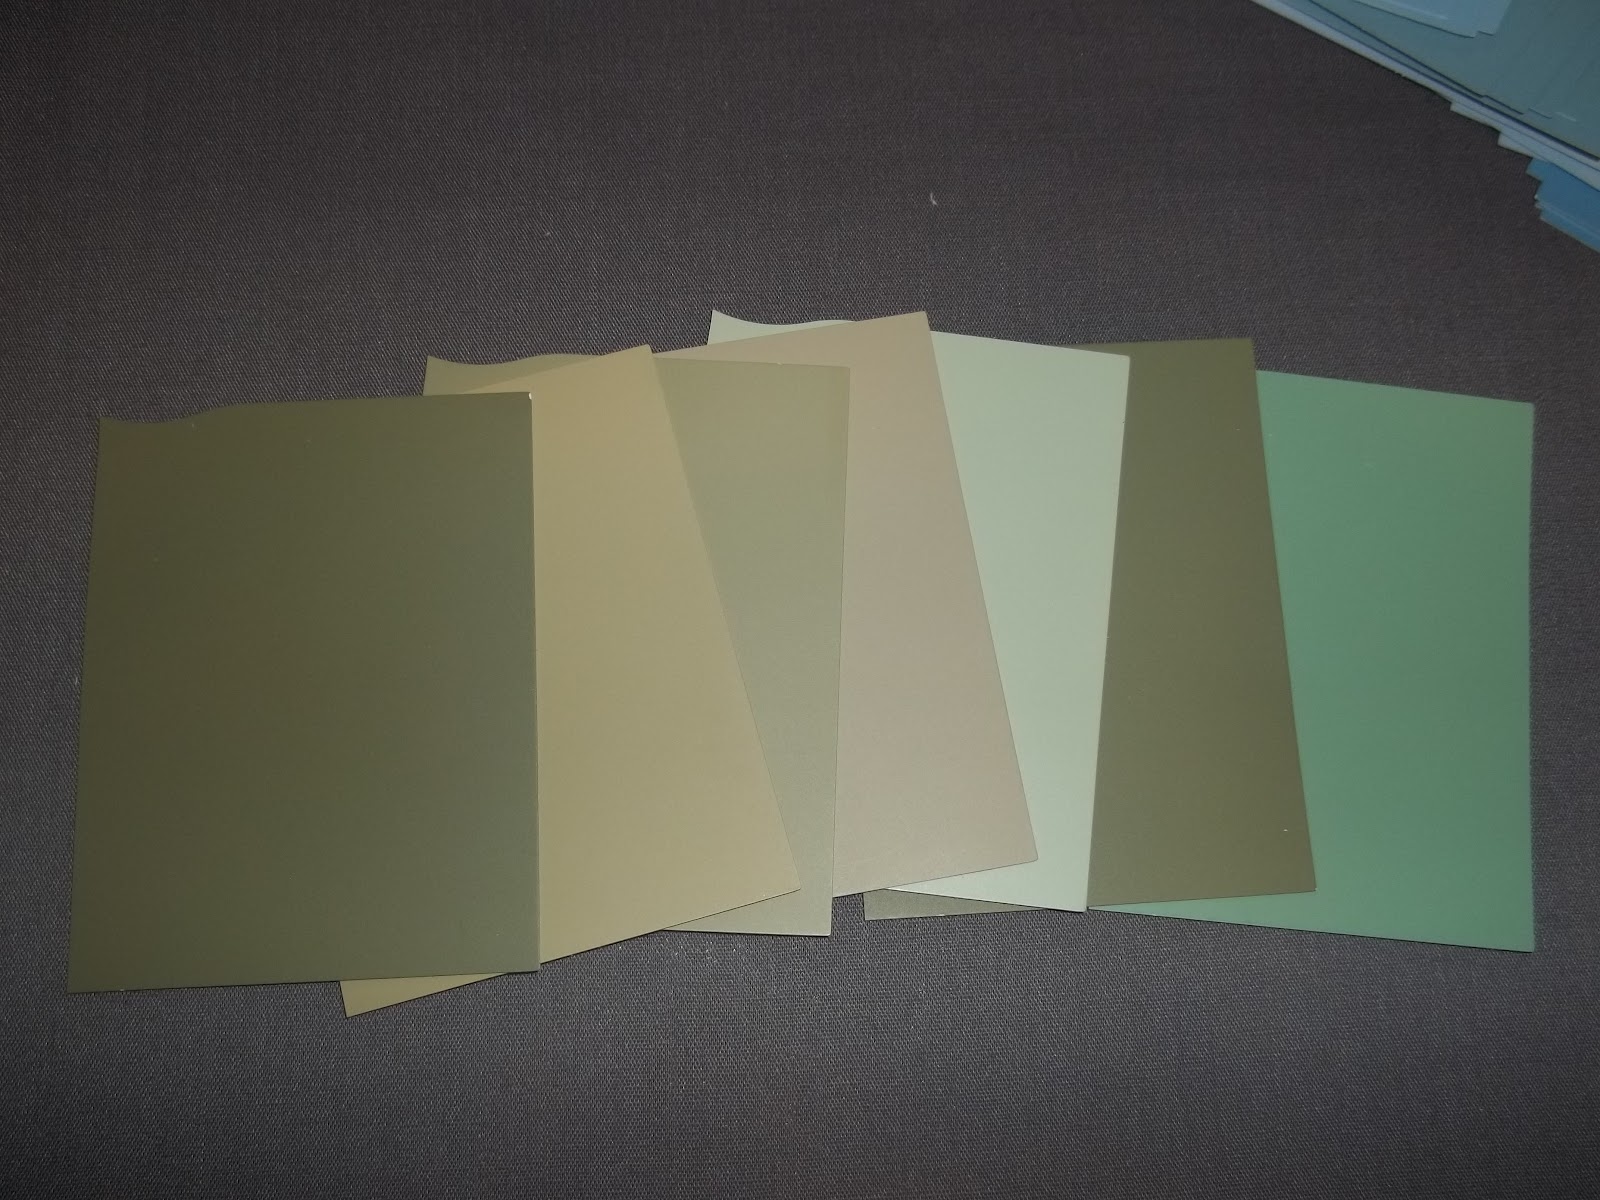
Closer shot of my green palate. :)

This was the fun part. I used the top piece of the samples to mark my days of the week and coordinated the punchouts, then glued them to the fabric on the front. Easy peasy! ------------->
Here is a shot of the finished product before I marked the month and the days of the week with the dry erase marker. A simple, easy, and cost-effective project! I can't wait to see what else I'll find to create on Pinterest!

What projects have you completed recently? I welcome your comments. :)
This one is on my list of things to do hopefully soon. I've had all the pieces laid out....just a matter of finding the time :)
ReplyDelete